Drawing a Flower: A Comprehensive Guide
Introduction
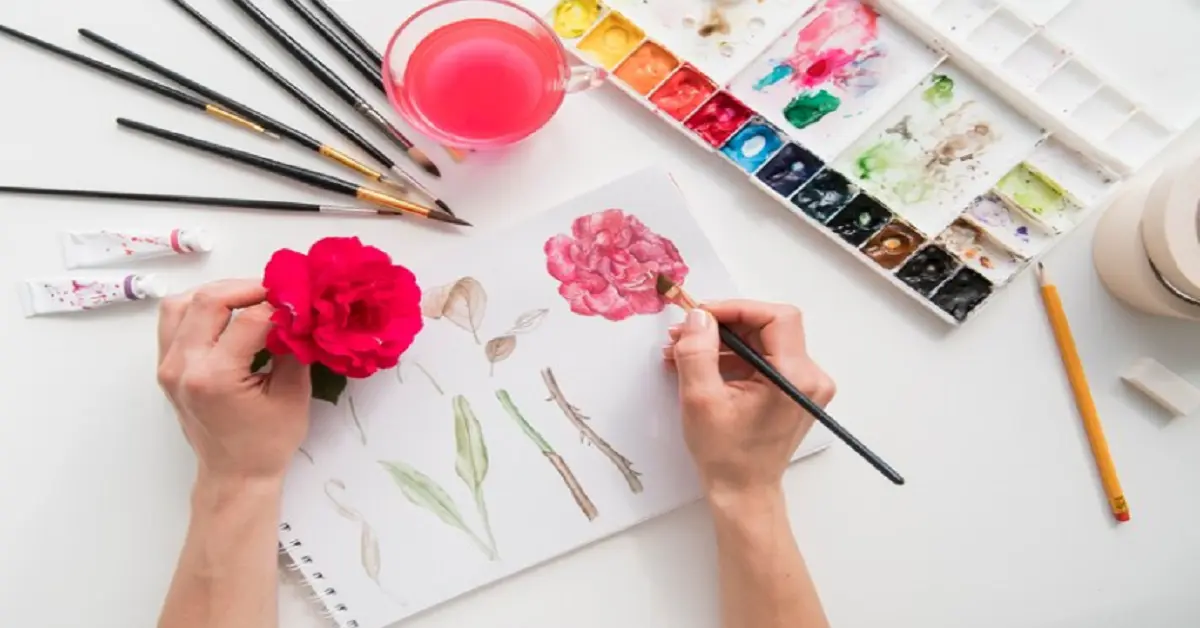
drawing:b6yad8or5mm= flower .Drawing flowers is a delightful and relaxing activity that not only hones your artistic skills but also connects you with nature’s beauty. Whether you’re an aspiring artist or just looking to unwind, drawing a flower can be a rewarding experience. In this guide, we’ll walk you through the entire process, from gathering materials to adding intricate details.
Materials Needed
To start your flower drawing journey, you’ll need a few basic tools. Here’s a list to get you started:
- Basic Tools:
- Pencils (HB, 2B, 4B)
- Eraser
- Sharpener
- Drawing paper or sketchbook
- Optional Enhancements:
- Colored pencils or markers
- Blending stumps or tortillons
- Fine liners for detailing
- A ruler (for precise measurements)
Step-by-Step Guide to Drawing a Flower
Choosing Your Flower
Before you start drawing, decide which flower you want to depict. Popular choices include roses, tulips, sunflowers, and daisies. For beginners, it’s often best to start with simpler flowers like daisies or sunflowers. drawing:b6yad8or5mm= flower
Sketching the Basic Outline
- Drawing the Stem: Begin with a simple vertical line for the stem. Ensure it’s not too thick or thin relative to the flower you have in mind.
- Adding Leaves: Sketch out basic leaf shapes along the stem. Leaves can vary greatly in shape, so observe your chosen flower closely.
- Outlining Petals: Lightly draw the overall shape of the flower’s bloom. Start with a central circle and add petal shapes around it. drawing:b6yad8or5mm= flower
Detailing the Flower
- Petal Textures: Within each petal, add lines and curves to represent texture. Petals often have veins and slight variations in shading.
- Leaf Veins: Draw veins within the leaves, starting from the central vein and branching outwards.
- Stem Details: Add small details like thorns (if drawing a rose) or texture lines to make the stem look more realistic.
Adding Depth and Dimension
- Shading Techniques: Use your pencil to add shading to your flower. Identify the light source and shade the areas that would naturally be darker.
- Highlighting: Erase small areas to create highlights, enhancing the three-dimensional effect.
- Creating Shadows: Add shadows beneath the petals and leaves to give your drawing more depth.
Different Styles of Drawing Flowers
- Realistic: Focus on precise details and accurate shading to make your flower look lifelike.
- Abstract: Use bold lines and unconventional colors to create an artistic interpretation of a flower.
- Cartoonish: Simplify the shapes and use bright colors for a fun, playful look. drawing:b6yad8or5mm= flower
Common Mistakes and How to Avoid Them
- Overcomplicating Designs: Start simple and gradually add details.
- Ignoring Proportions: Keep the proportions of the stem, leaves, and petals consistent with the real flower.
- Neglecting Details: Small details like vein patterns and shading can significantly enhance your drawing.
Advanced Techniques
- Blending Colors: Use colored pencils or markers to blend different hues for a more vibrant look.
- Using Mixed Media: Combine pencils with watercolors or inks for a unique effect.
- Experimenting with Perspectives: Try drawing the flower from different angles to challenge yourself and add variety to your art.
Tips for Perfecting Your Flower Drawing
- Practice Regularly: Like any skill, drawing improves with consistent practice.
- Study Real Flowers: Observe flowers in nature or photos to understand their structure and details better.
- Join a Drawing Community: Engage with other artists, share your work, and get constructive feedback.
Conclusion
drawing:b6yad8or5mm= flower .Drawing flowers is a wonderful way to express creativity and appreciate the intricate beauty of nature. With practice and patience, you can master the art of flower drawing. Remember, each drawing is a step forward in your artistic journey, so keep practicing and enjoy the process!