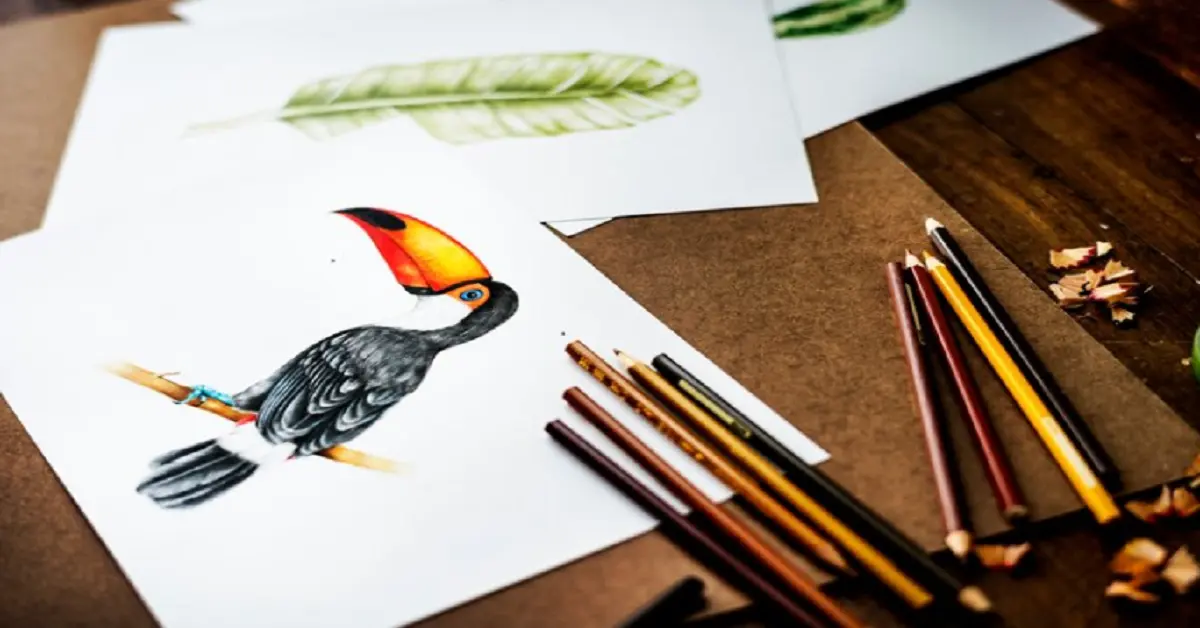
Drawing Birds: A Step-by-Step Guide for Beginners
drawing:5imhdjgxuha= bird .Drawing birds might seem intimidating at first, but once you break the process down into manageable steps, it becomes a rewarding experience. Whether you’re a complete beginner or someone looking to improve your skills, this guide will walk you through the process of drawing birds. From understanding their anatomy to adding fine details, you’ll be equipped with all the tools you need.
Understanding Bird Anatomy
Before you start drawing, it’s crucial to understand the basic anatomy of a bird. Birds are unique in their structure compared to mammals, with their lightweight bones, streamlined bodies, and distinct features like beaks, wings, and feathers.
- Head and Beak: Birds have small heads relative to their body size, with a beak that varies in shape depending on the species.
- Body: Their bodies are often oval-shaped, with a streamlined form for flight.
- Wings: Wings can vary from short and rounded (like sparrows) to long and pointed (like eagles).
- Legs and Feet: Their legs are often thin, with feet adapted for perching or hunting.
Materials Needed for Bird Drawing
To start drawing birds, you’ll need a few basic tools:
- Pencils: Start with a regular HB pencil for sketching. For shading, you may want softer pencils like 2B or 4B.
- Paper: Any quality drawing paper will work, but smoother paper is better for detailed work.
- Eraser: A kneaded eraser is perfect for adjusting light areas.
- Optional Tools: Colored pencils, fine-tip pens, or even digital drawing tools can be useful for adding extra detail or color.
Step 1: Sketching the Basic Shapes
Begin by sketching the bird using basic shapes like circles and ovals. This will help you get the proportions right.
- Head: Start with a small circle for the head.
- Body: Draw an oval for the body, slightly larger than the head.
- Tail: Use a triangle shape for the tail.
These simple shapes serve as the foundation for your drawing.
Step 2: Drawing the Head and Beak
Once you have the basic shapes, focus on the bird’s head and beak. The size and shape of the beak can vary significantly depending on the species.
- Proportions: Make sure the head and beak are proportional to the body.
- Beak Detail: Draw the beak in relation to the head size. For smaller birds, the beak will be short, while for predatory birds, it may be long and curved. drawing:5imhdjgxuha= bird
Step 3: Drawing the Body and Wings
Now, move on to drawing the bird’s body and wings. The wings play a crucial role in defining the bird’s posture and movement.
- Torso: Shape the torso using the oval you sketched earlier, adding curves to make it look more natural.
- Wing Structure: Draw the wings by breaking them into sections (shoulders, primary feathers, etc.) to add realism.
Step 4: Drawing the Tail and Legs
The tail and legs are essential for balance and movement. These parts can also vary widely depending on the bird.
- Tail: Extend the tail from the body using straight lines for a simple bird or fanned shapes for more complex species.
- Legs: Draw thin, straight lines for the legs and add small ovals for the feet.
Step 5: Adding Feathers and Details
Now, it’s time to add details like feathers, which give the bird its unique texture. Feathers can be drawn in layers:
- Feather Layers: Start by drawing the larger feathers on the wings and tail. Then, add smaller feathers on the body.
- Detailing: Use short, curved lines to mimic the texture of feathers.
Step 6: Shading and Texturing the Bird
Shading gives your drawing depth and realism. Pay attention to the light source and create shadows where necessary.
- Light Source: Decide where your light is coming from and shade the opposite side of the bird.
- Texturing: Use cross-hatching or light strokes to create the illusion of feather texture.
Step 7: Refining the Final Drawing
Finally, refine your drawing by polishing the details. Look for areas where the lines can be smoothed or details enhanced. drawing:5imhdjgxuha= bird
- Edges: Clean up any rough edges and ensure the lines are smooth.
- Common Mistakes: Watch out for incorrect proportions, especially in the wings and beak.
Different Types of Birds to Draw
If you’re just starting, try drawing simpler species like:
- Sparrows: Small, round, and easier to draw.
- Robins: More complex with distinctive color patterns.
- Eagles: Larger birds with intricate wing and beak details.
Using References for Better Drawings
Using reference images will help you capture the details of different bird species. Try using photos or real-life observations.
Tips for Drawing Birds in Flight
Drawing birds in flight adds motion to your artwork. Focus on the wings and their position during the flight. Birds often extend their wings fully, so capturing the wing span is essential.
Practicing for Improvement
Practice is the key to improvement. Set aside time each day to draw different birds and experiment with different styles.
Conclusion
drawing:5imhdjgxuha= bird .Drawing birds is a rewarding challenge for any artist. By breaking down the process into steps and practicing regularly, you’ll improve your skills and develop your own style. So grab your pencil, find a bird reference, and start drawing today!